Tuesday, April 12, 2011

Day 5

Had the deck cut out and sanded, so now for the decorating etc. The board ended up being pretty stiff so i skipped the fiber glass. I also dumped the design, instead I bought all four colors of fluorescent paint that were being sold at home depot, and i went to town on it. Of course everything looks better in real life than it does in the pictures.

                                                 Neon spray paint and sealant stuff
                                                             Taping the edges
                                                             The bright green top
                                  The 'neon camo' bottom-went a bit crazy with the spray paint

              Tomorrow i am going to put on the sealant, grip tape and trucks/wheels, and it will be done!!

Day 4

Well, it was the exciting day-the cutting and sanding.
Unfortunately, in my cutting and sanding i forgot to take pics, so here are the few that got taken.

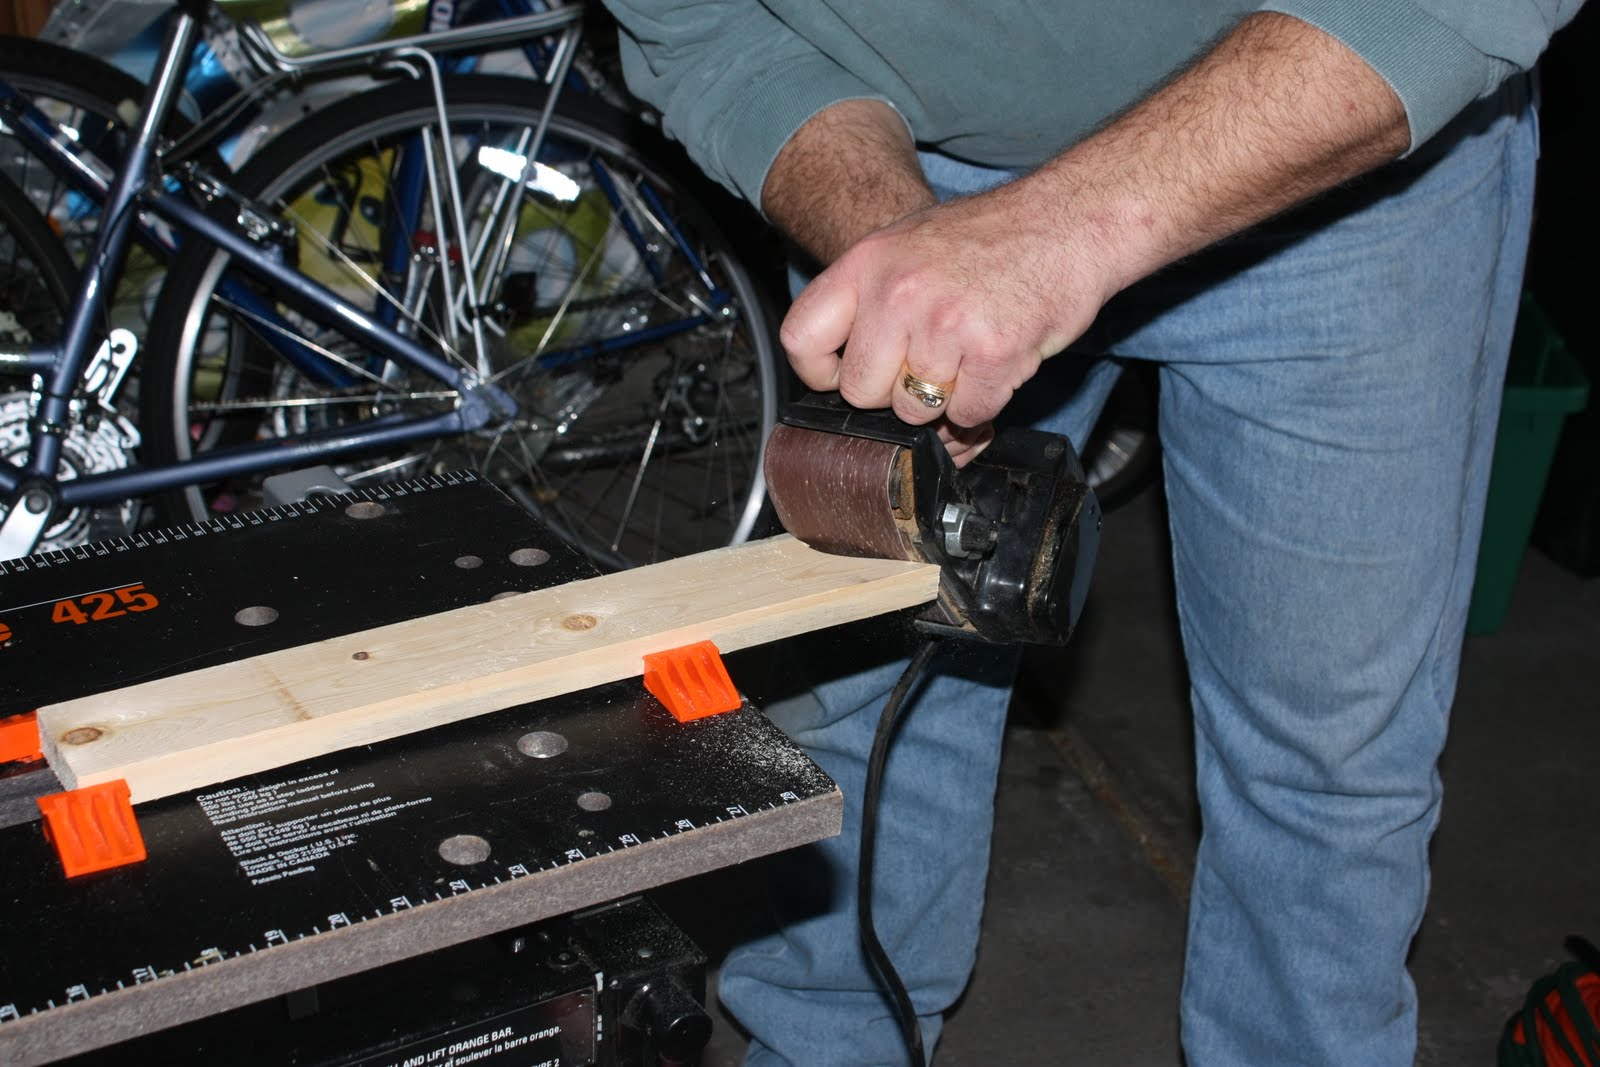
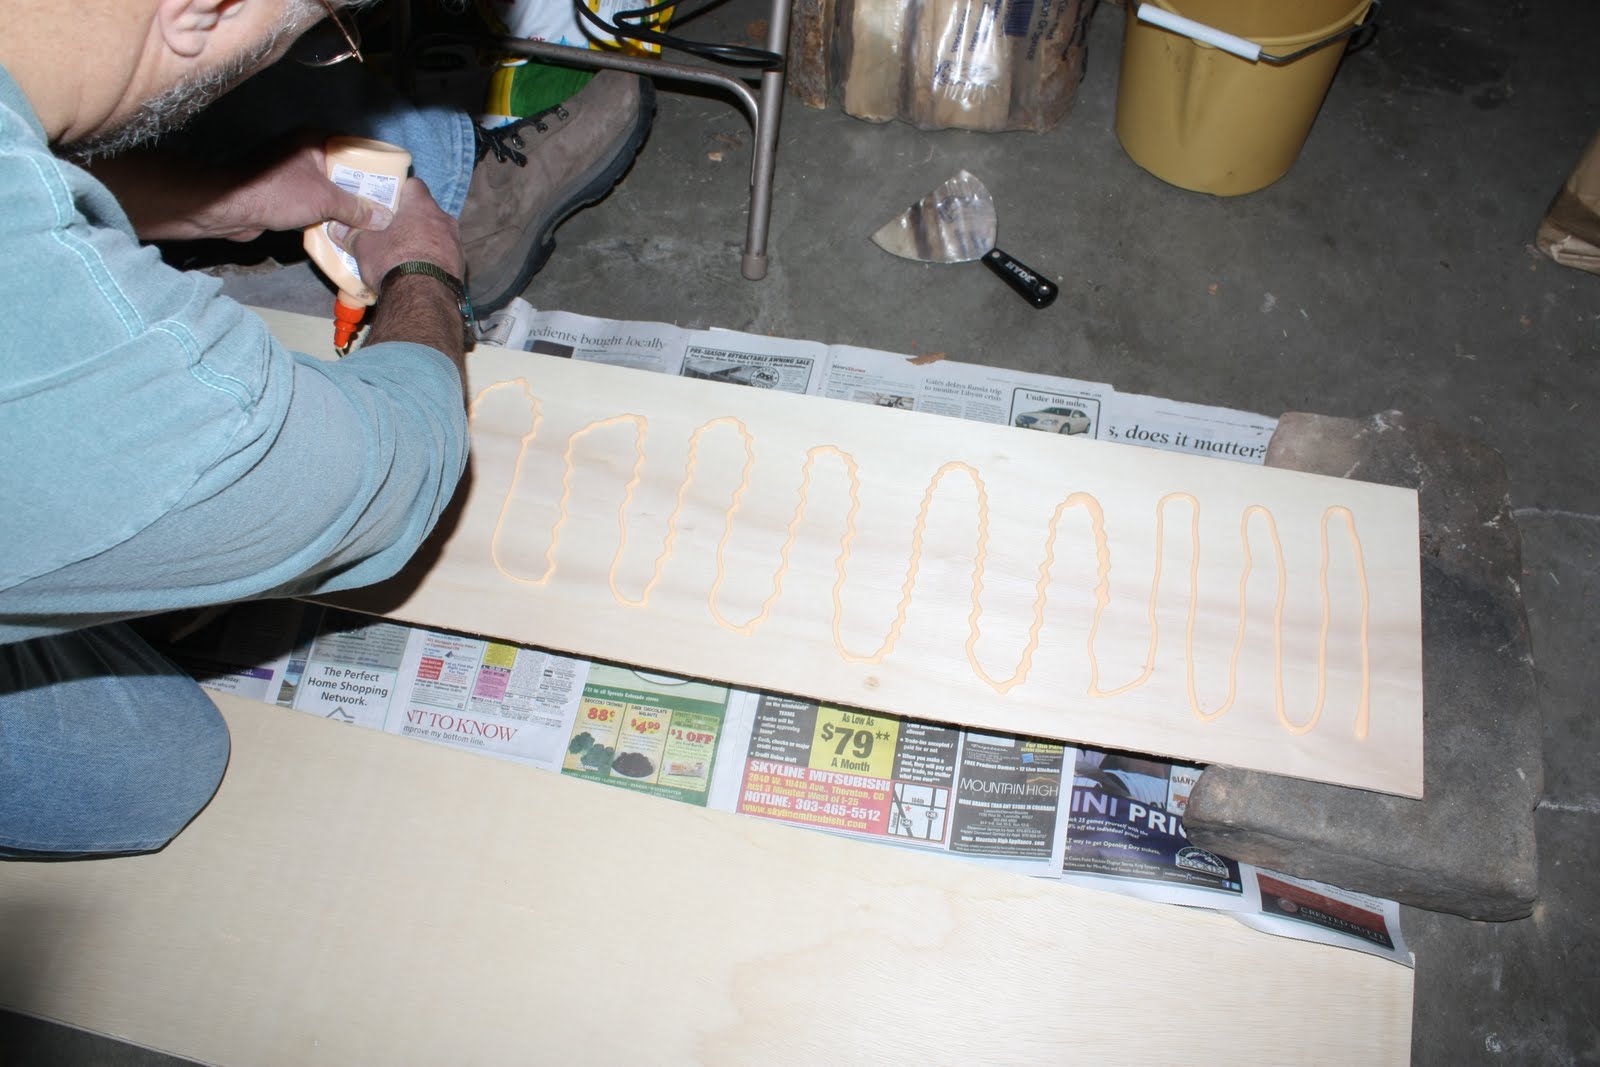
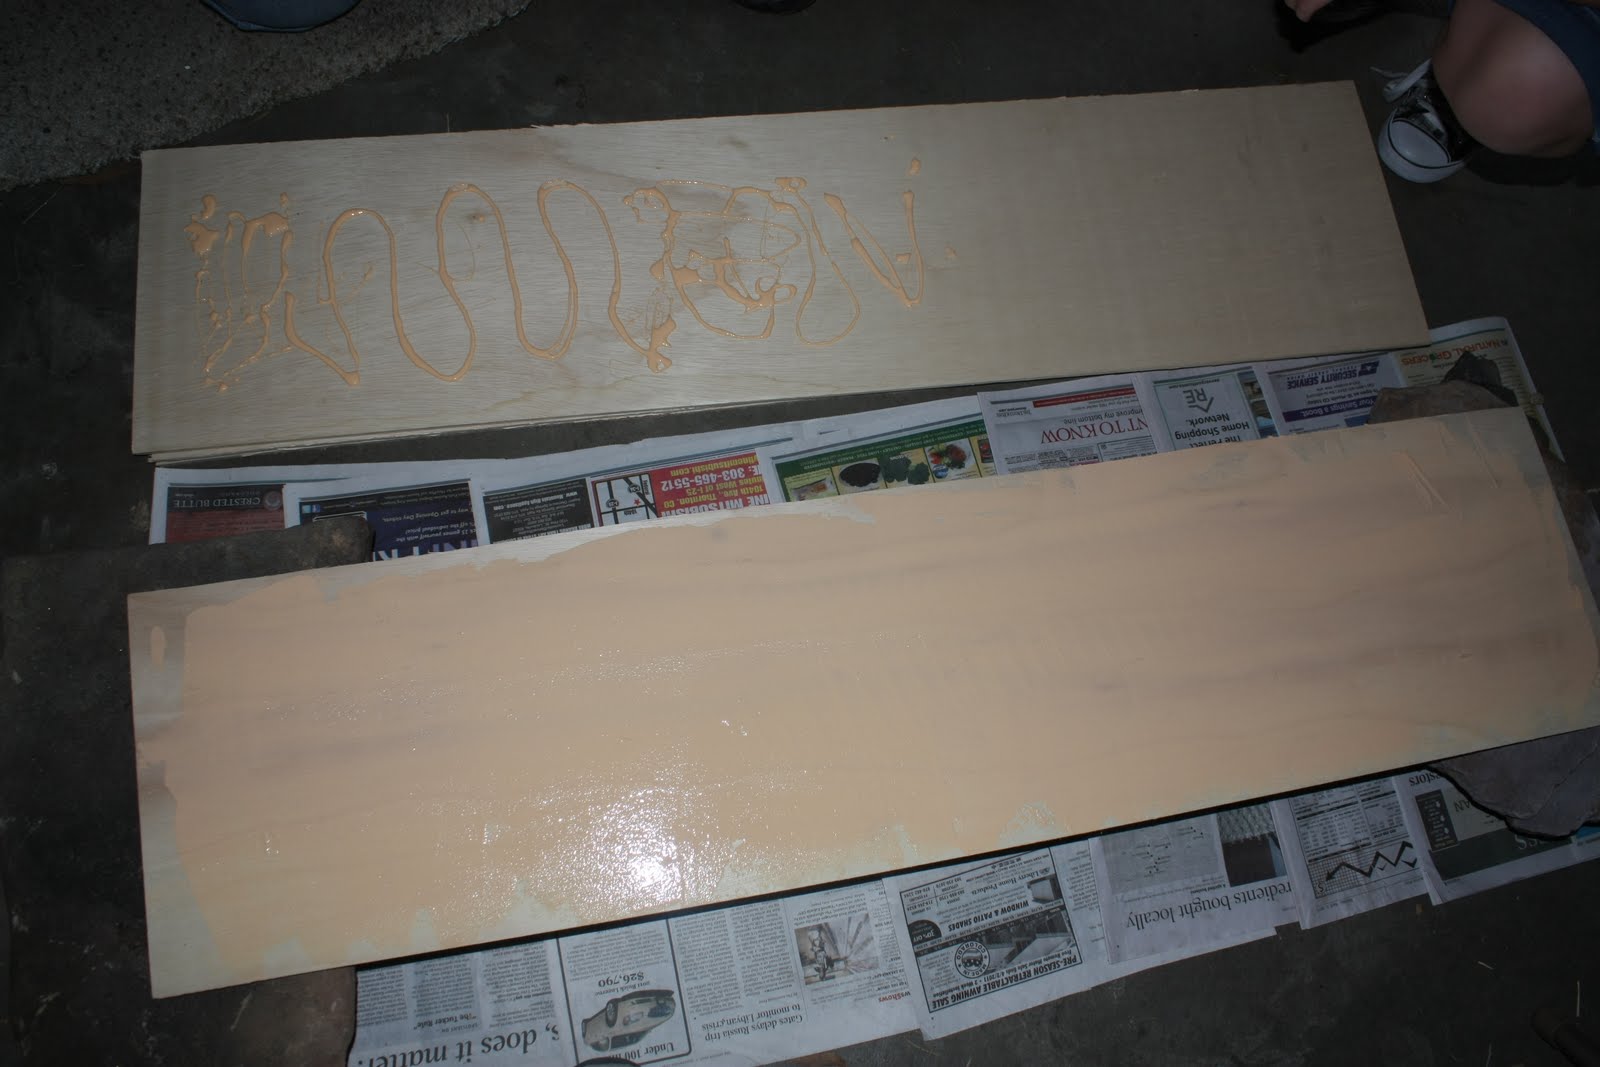
                                       Figuring out the belt sander on a piece of practice wood
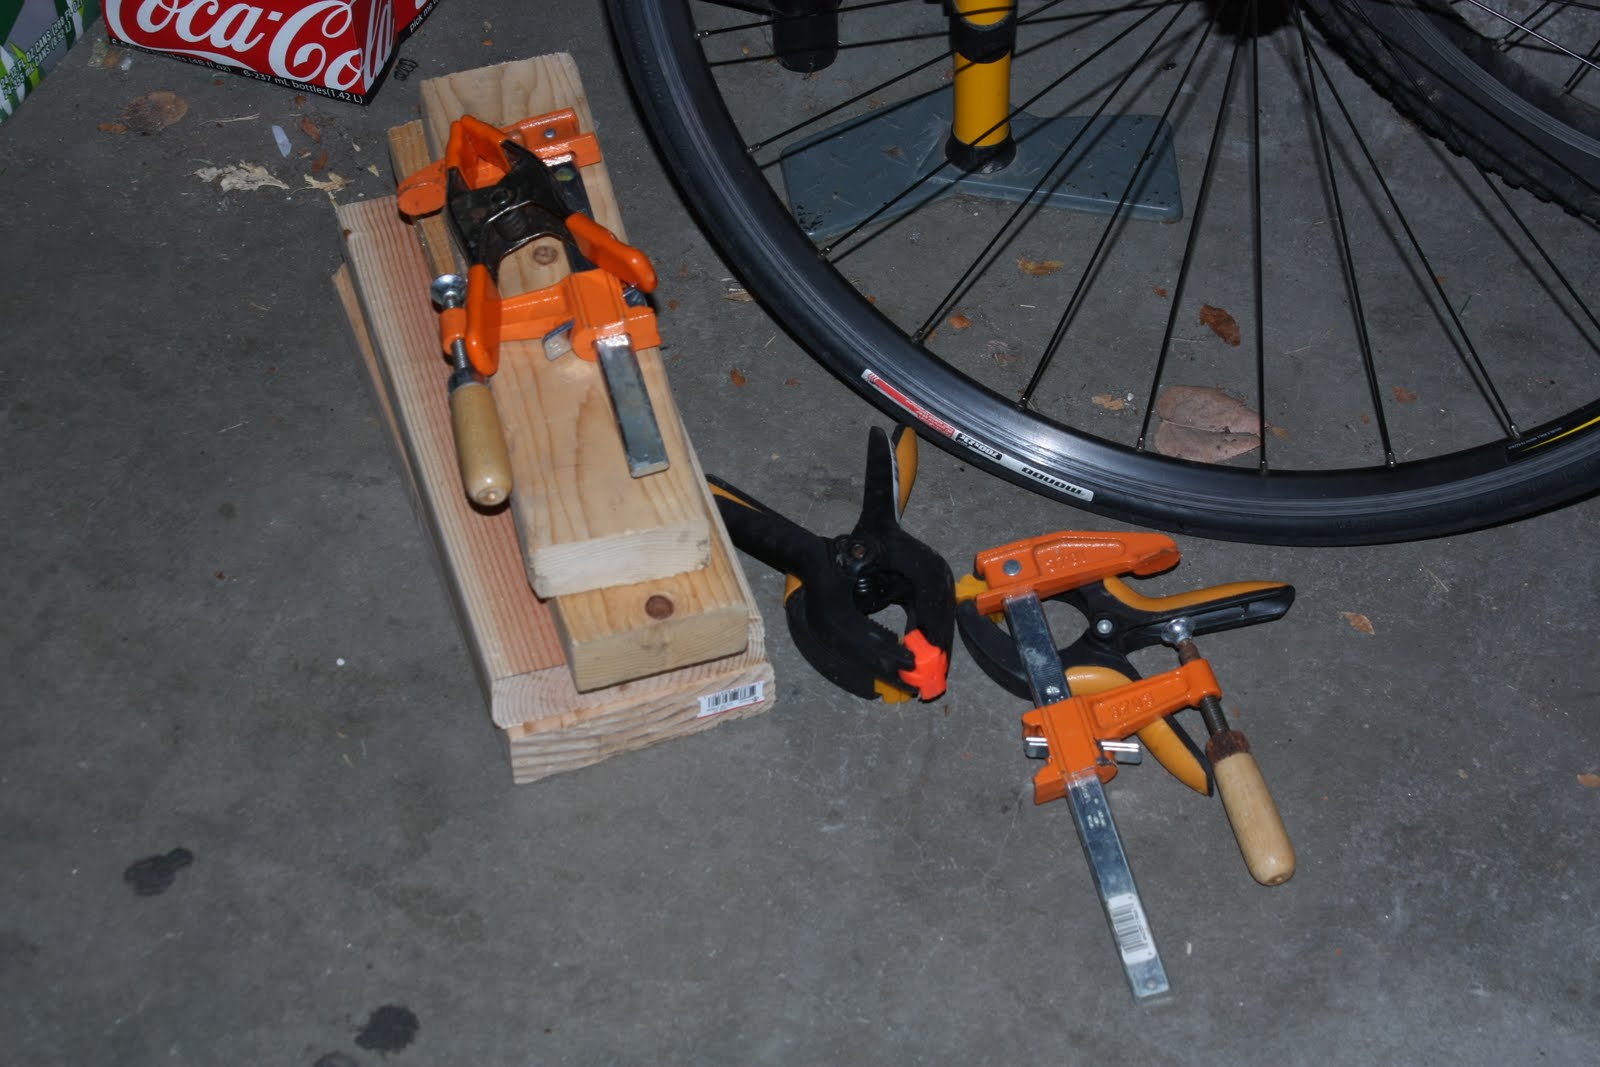
                             The Walmart trucks and old school race wheels (hopefully temp)
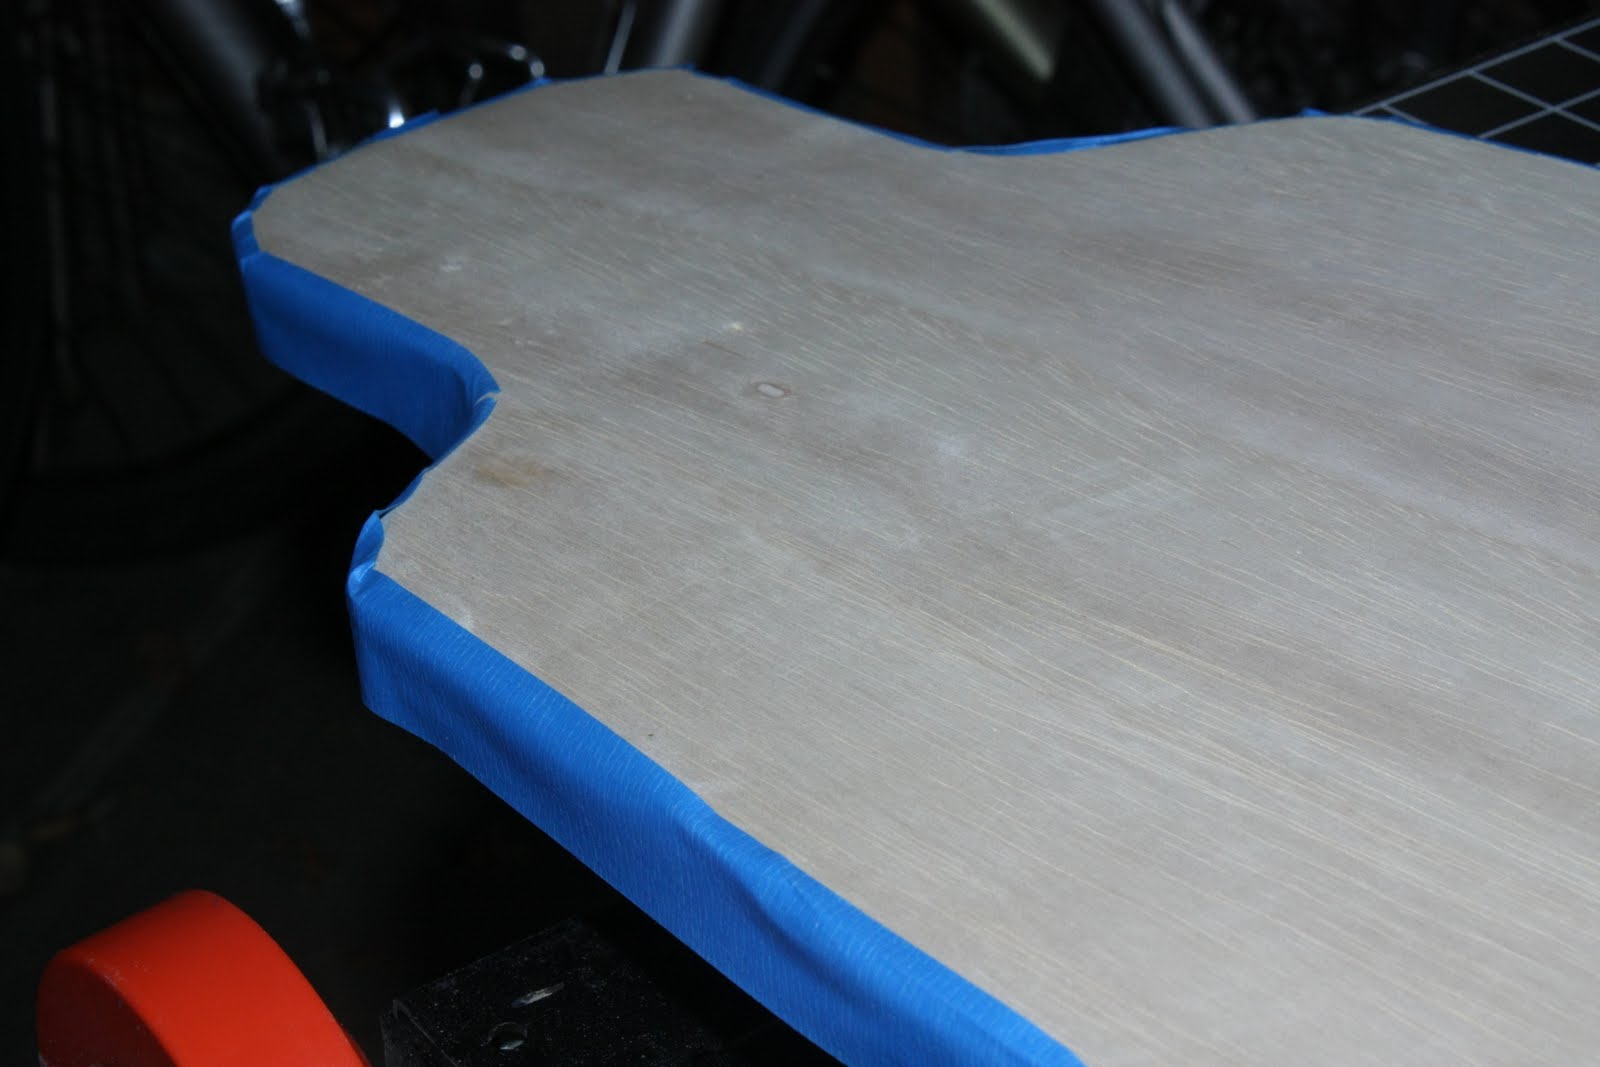
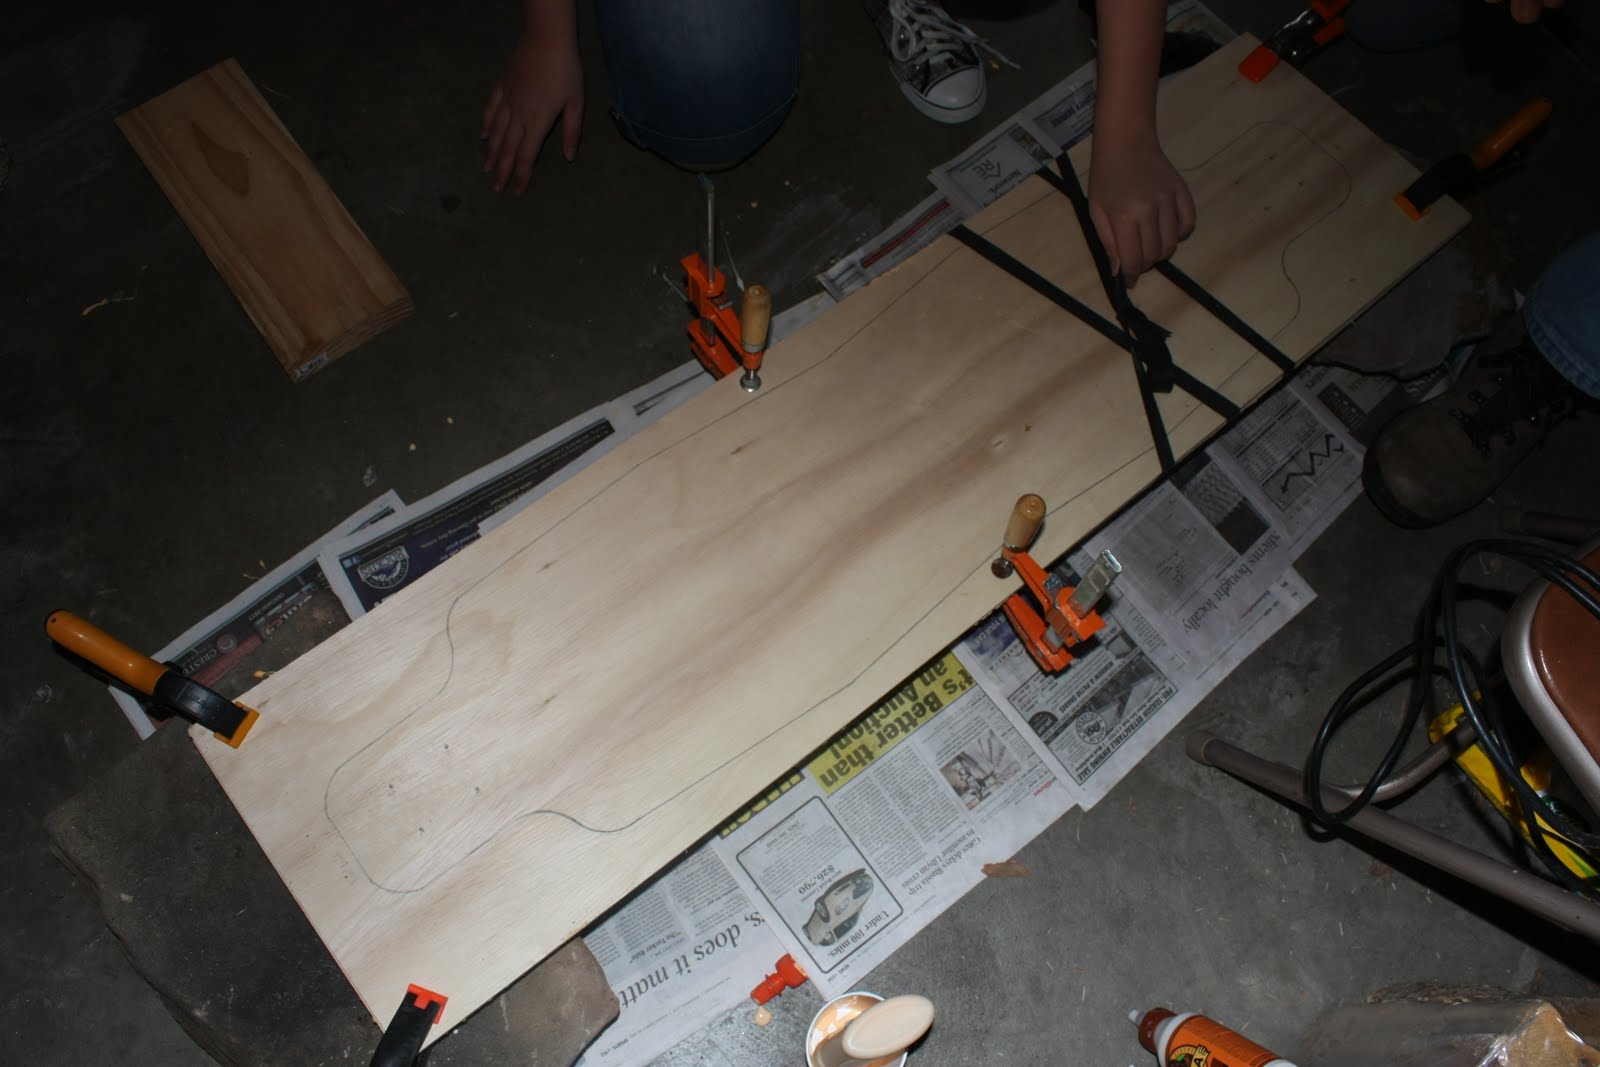
                                        In the upgraded clamps after the bending was over
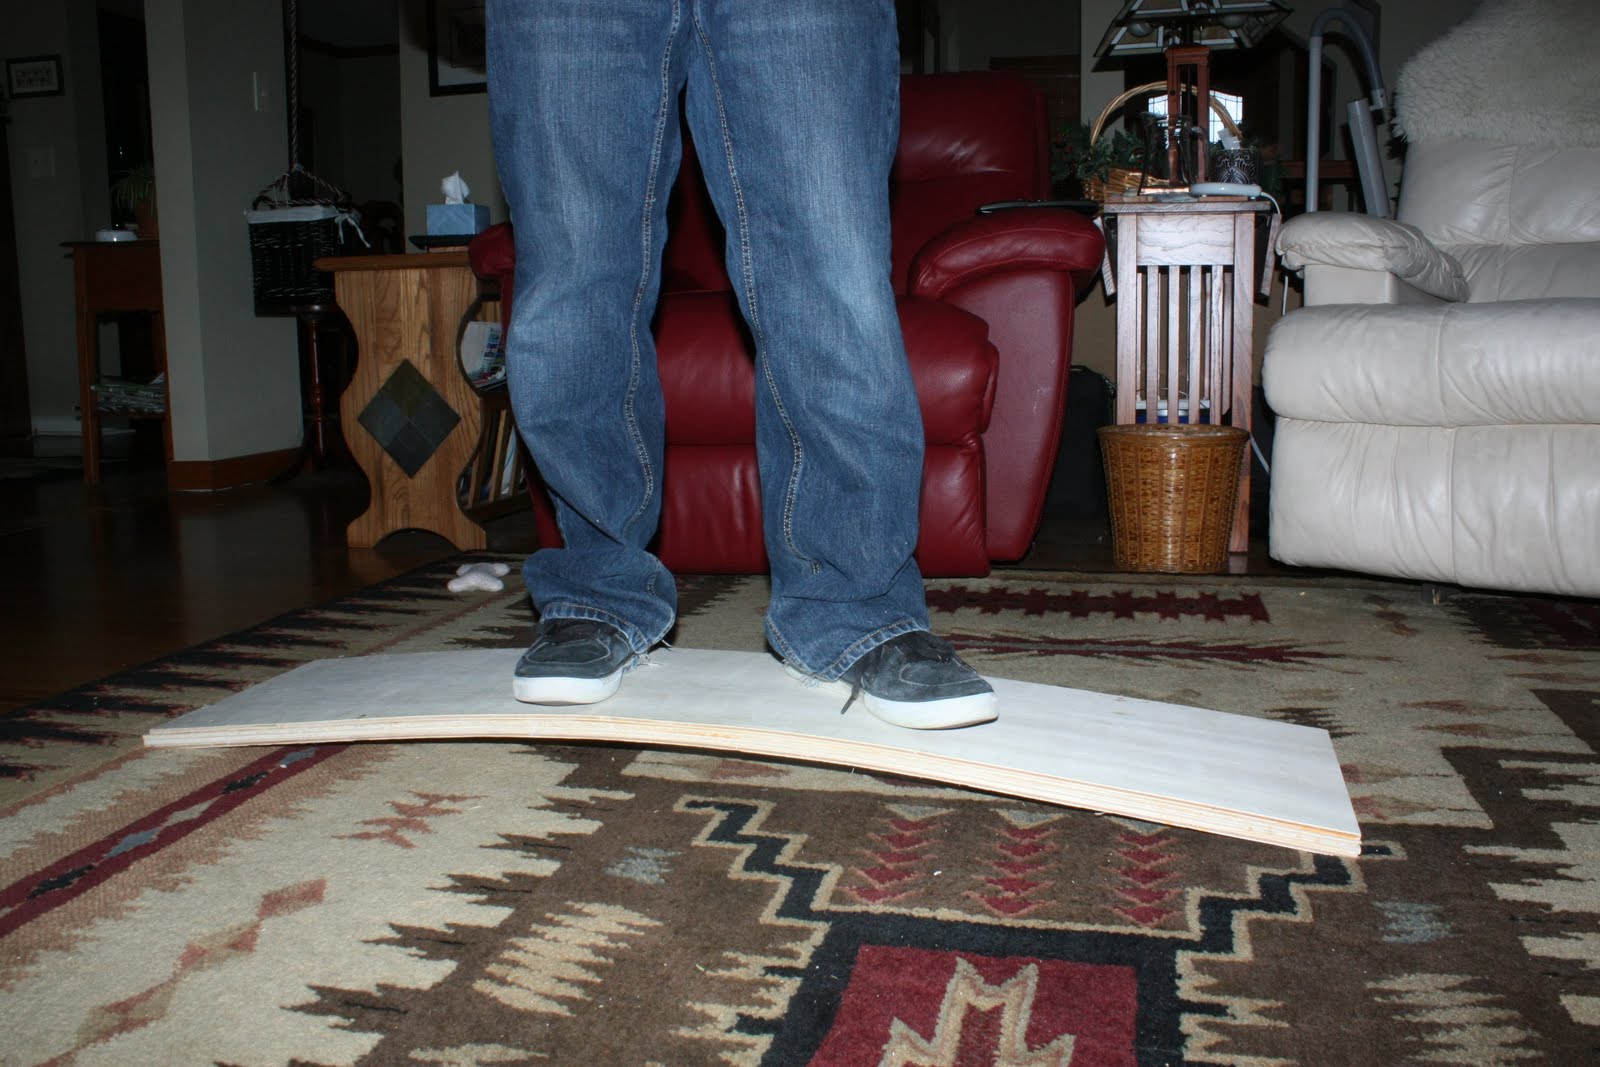
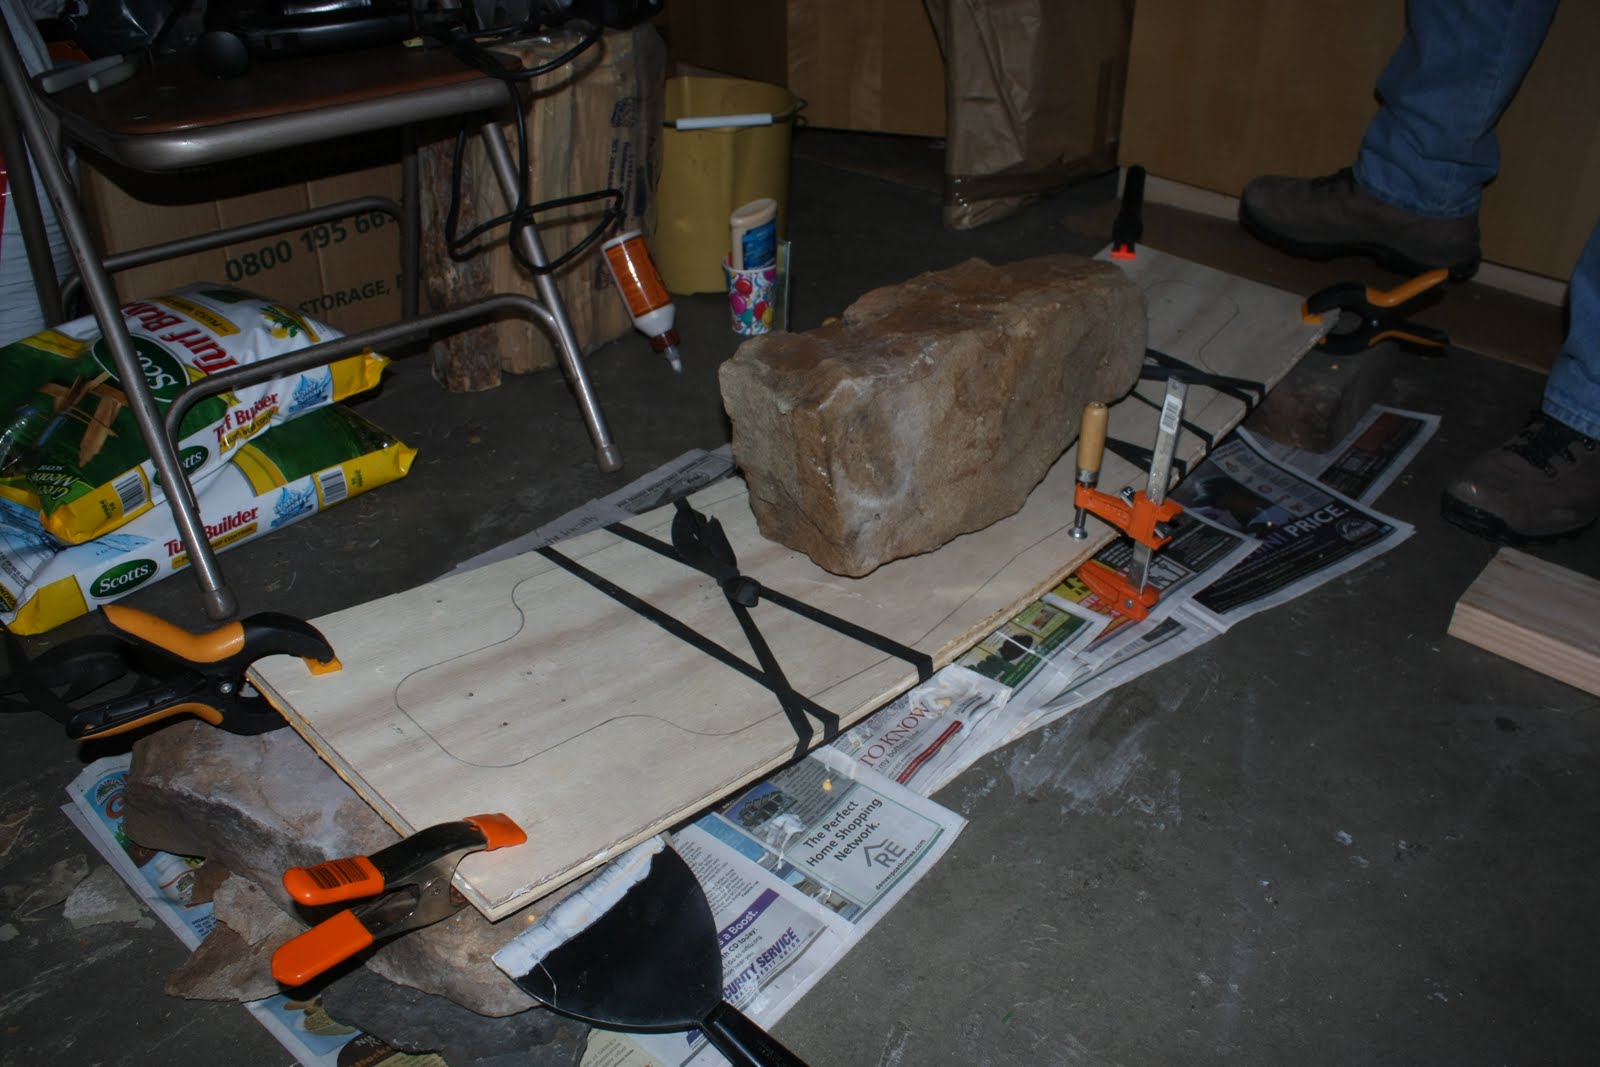
                                                                   Strength testing
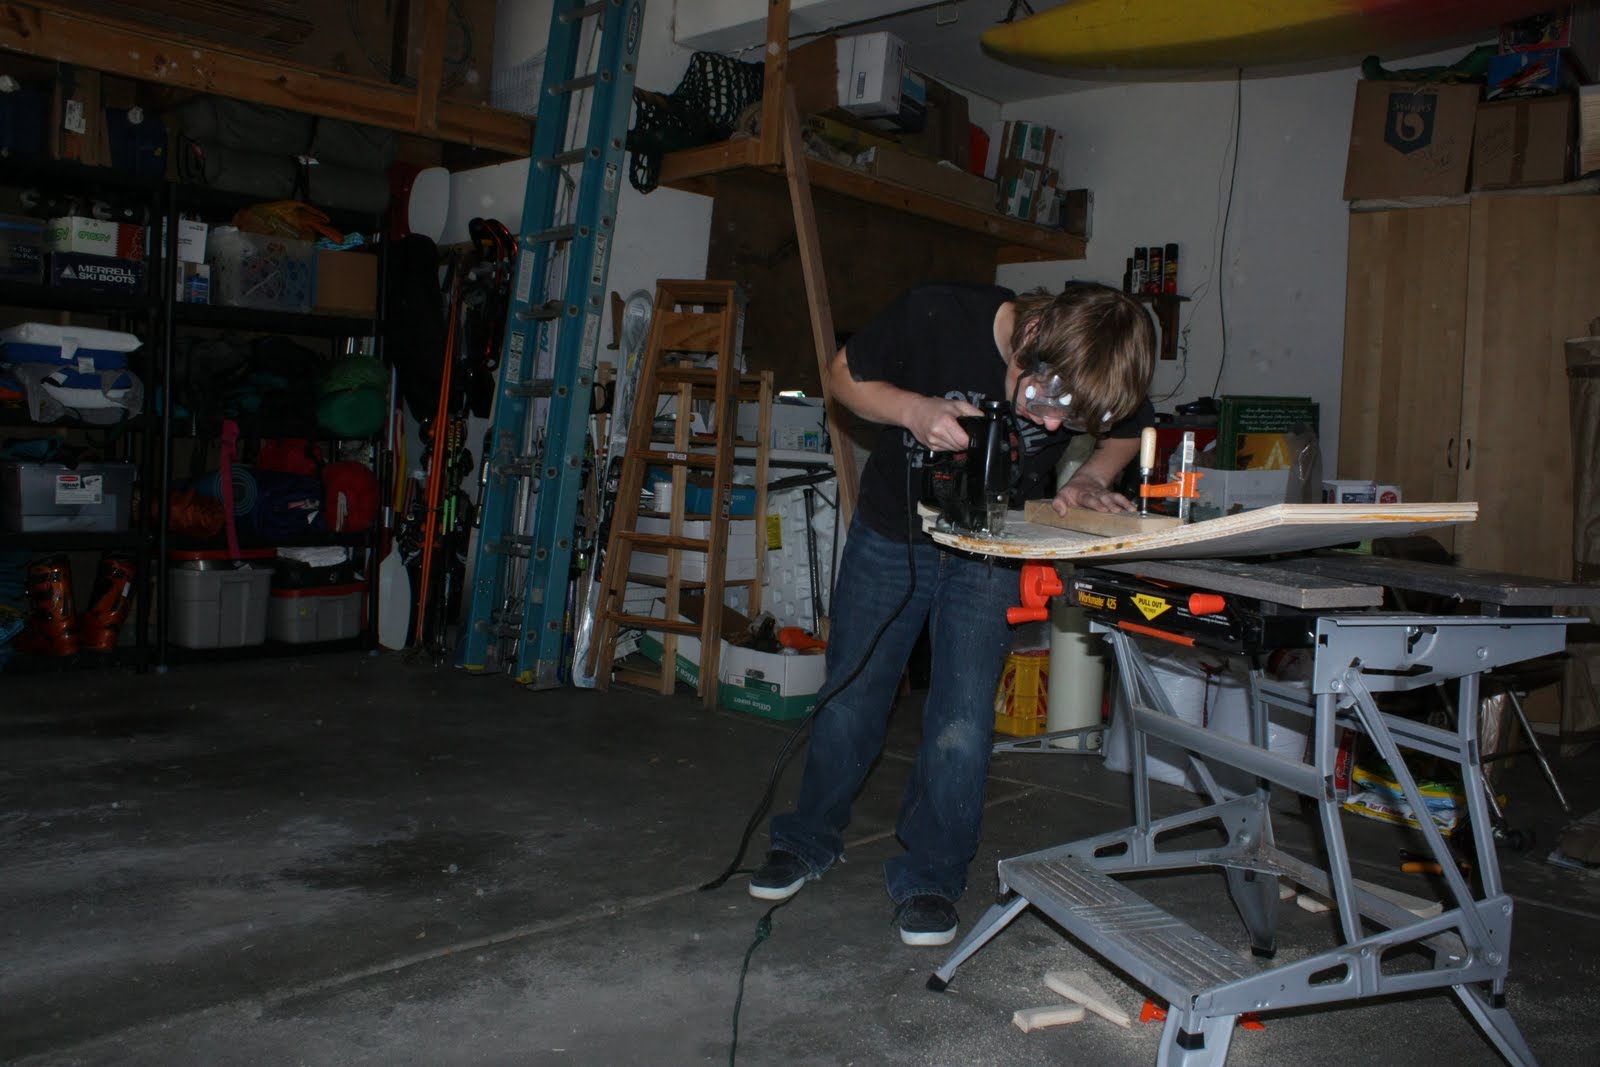
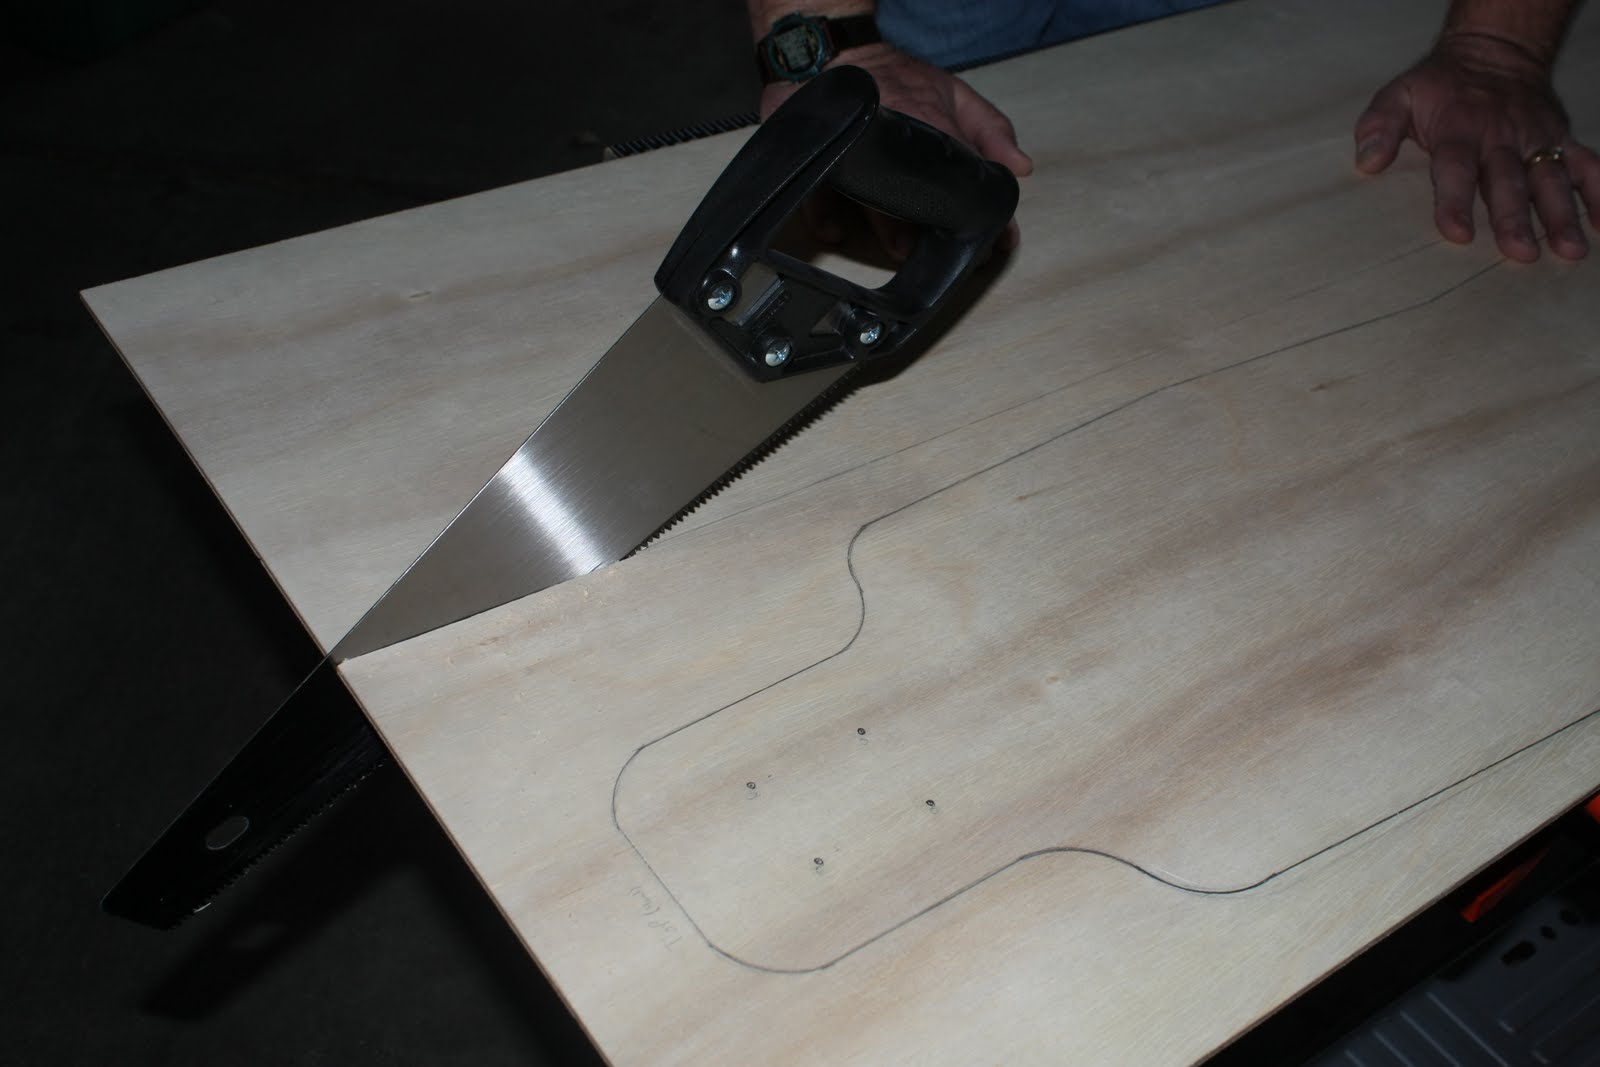
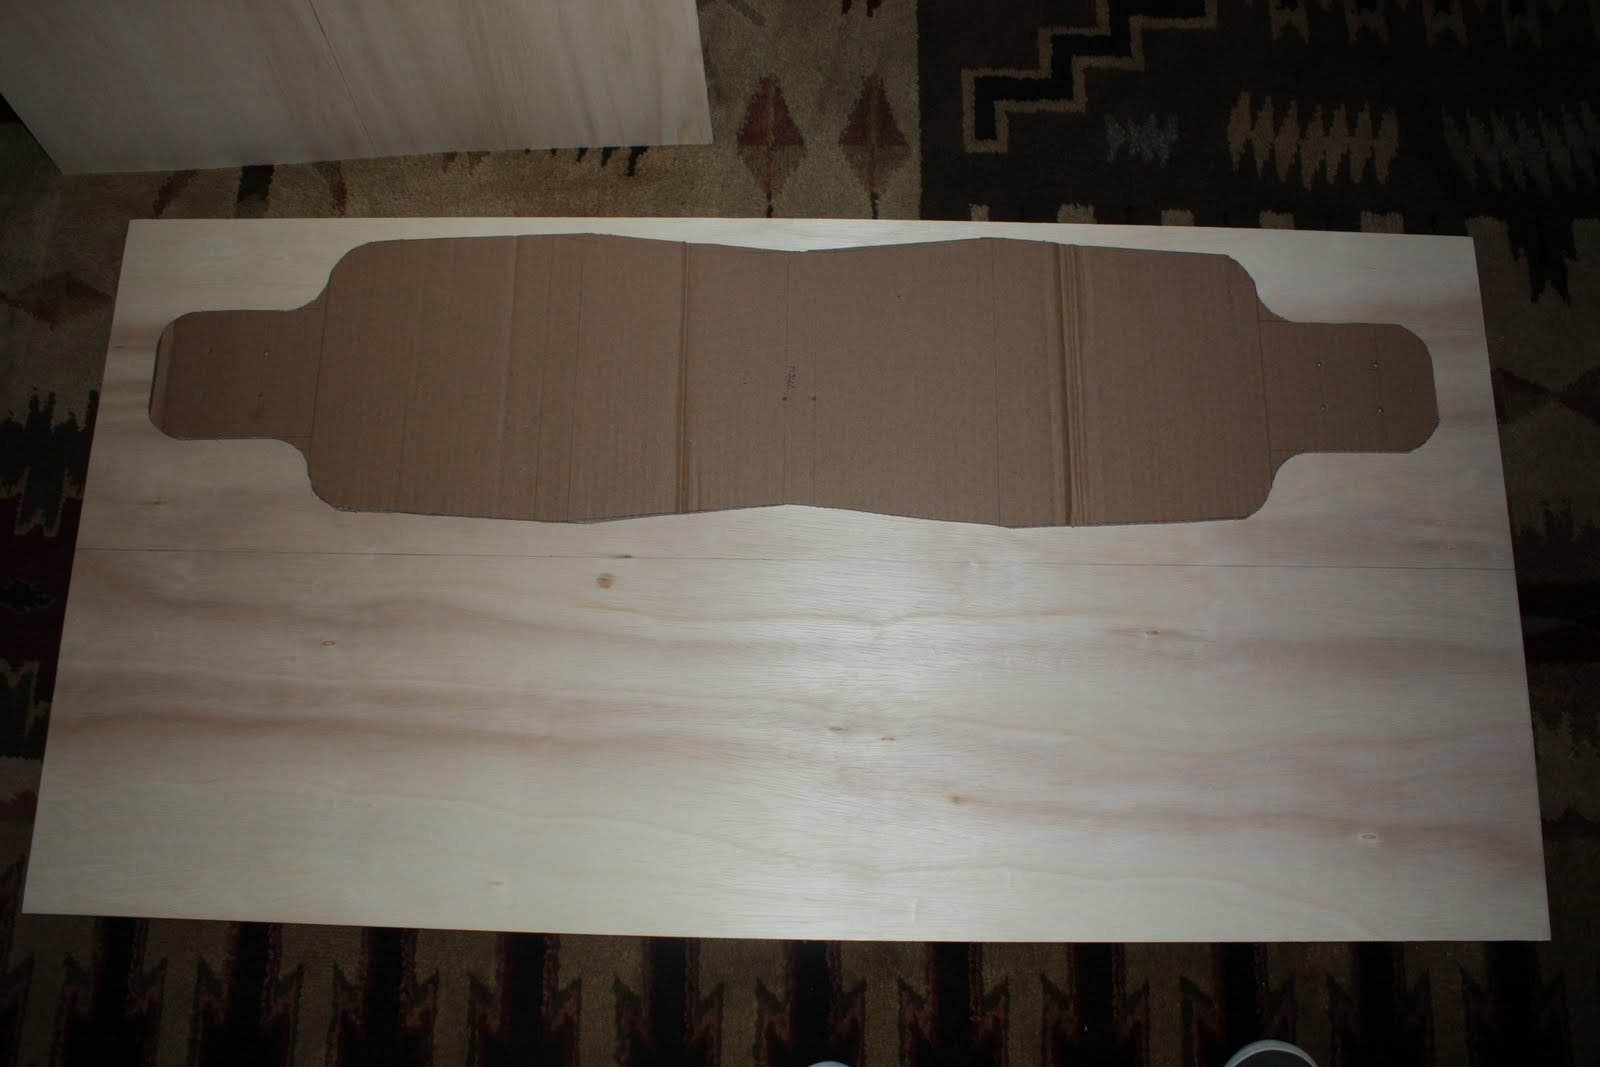
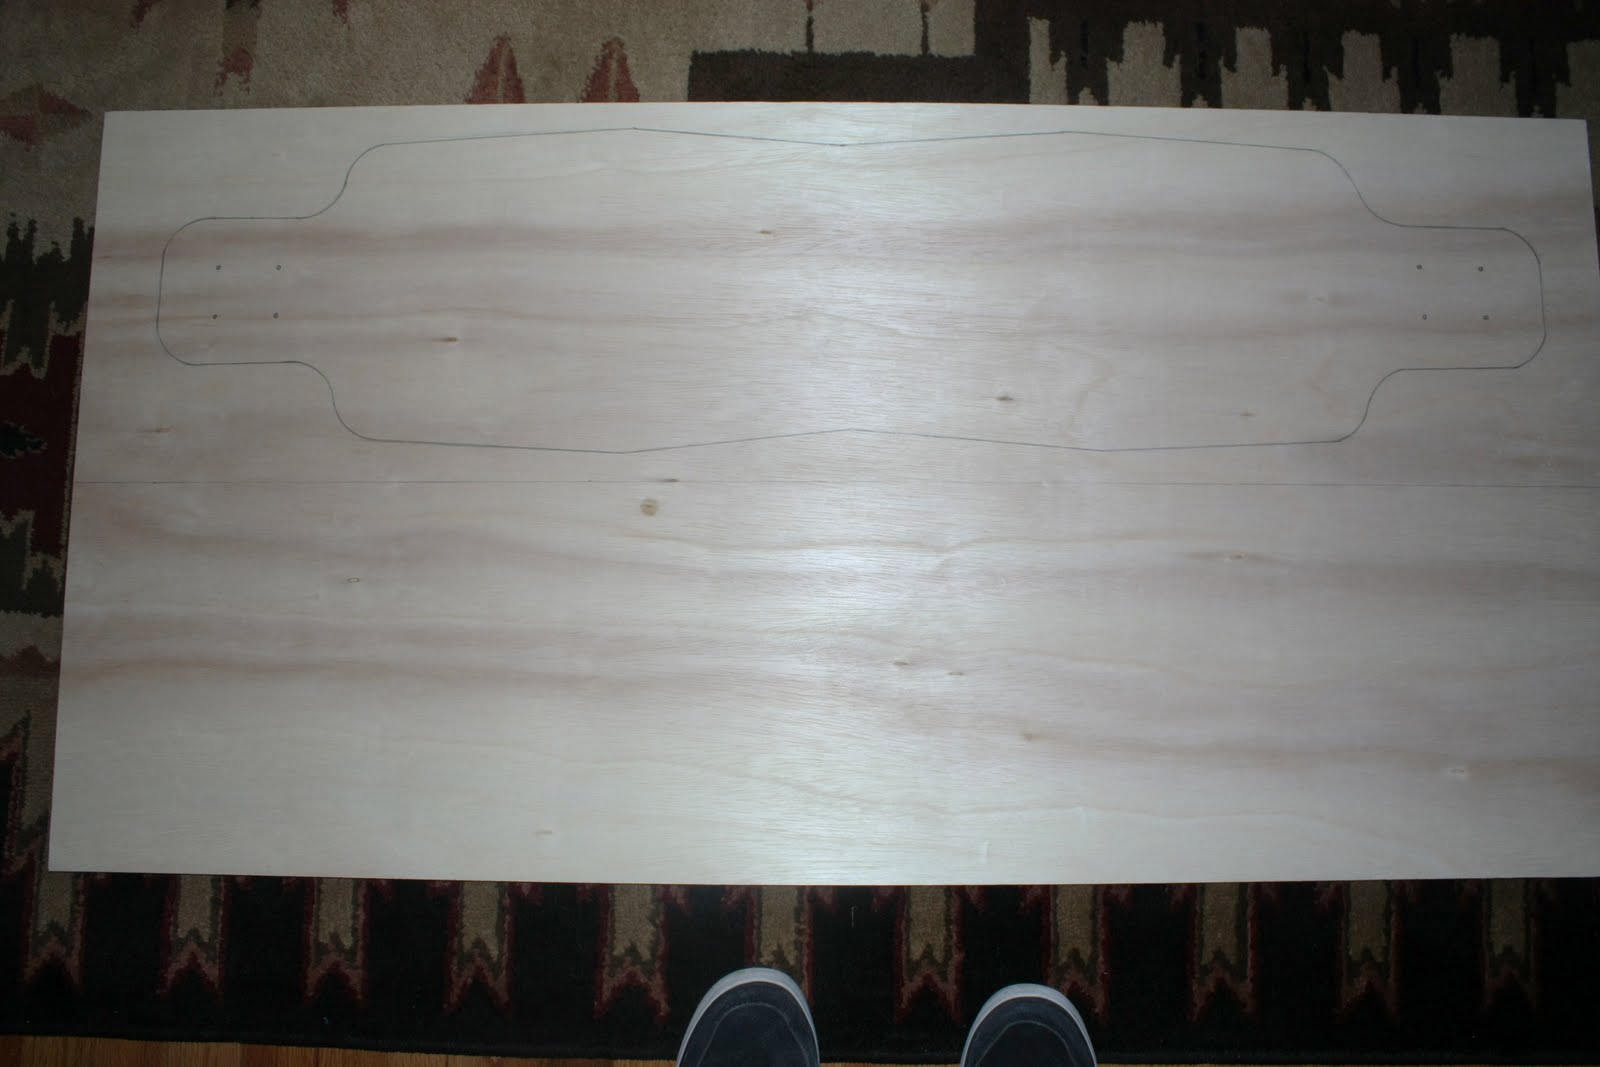
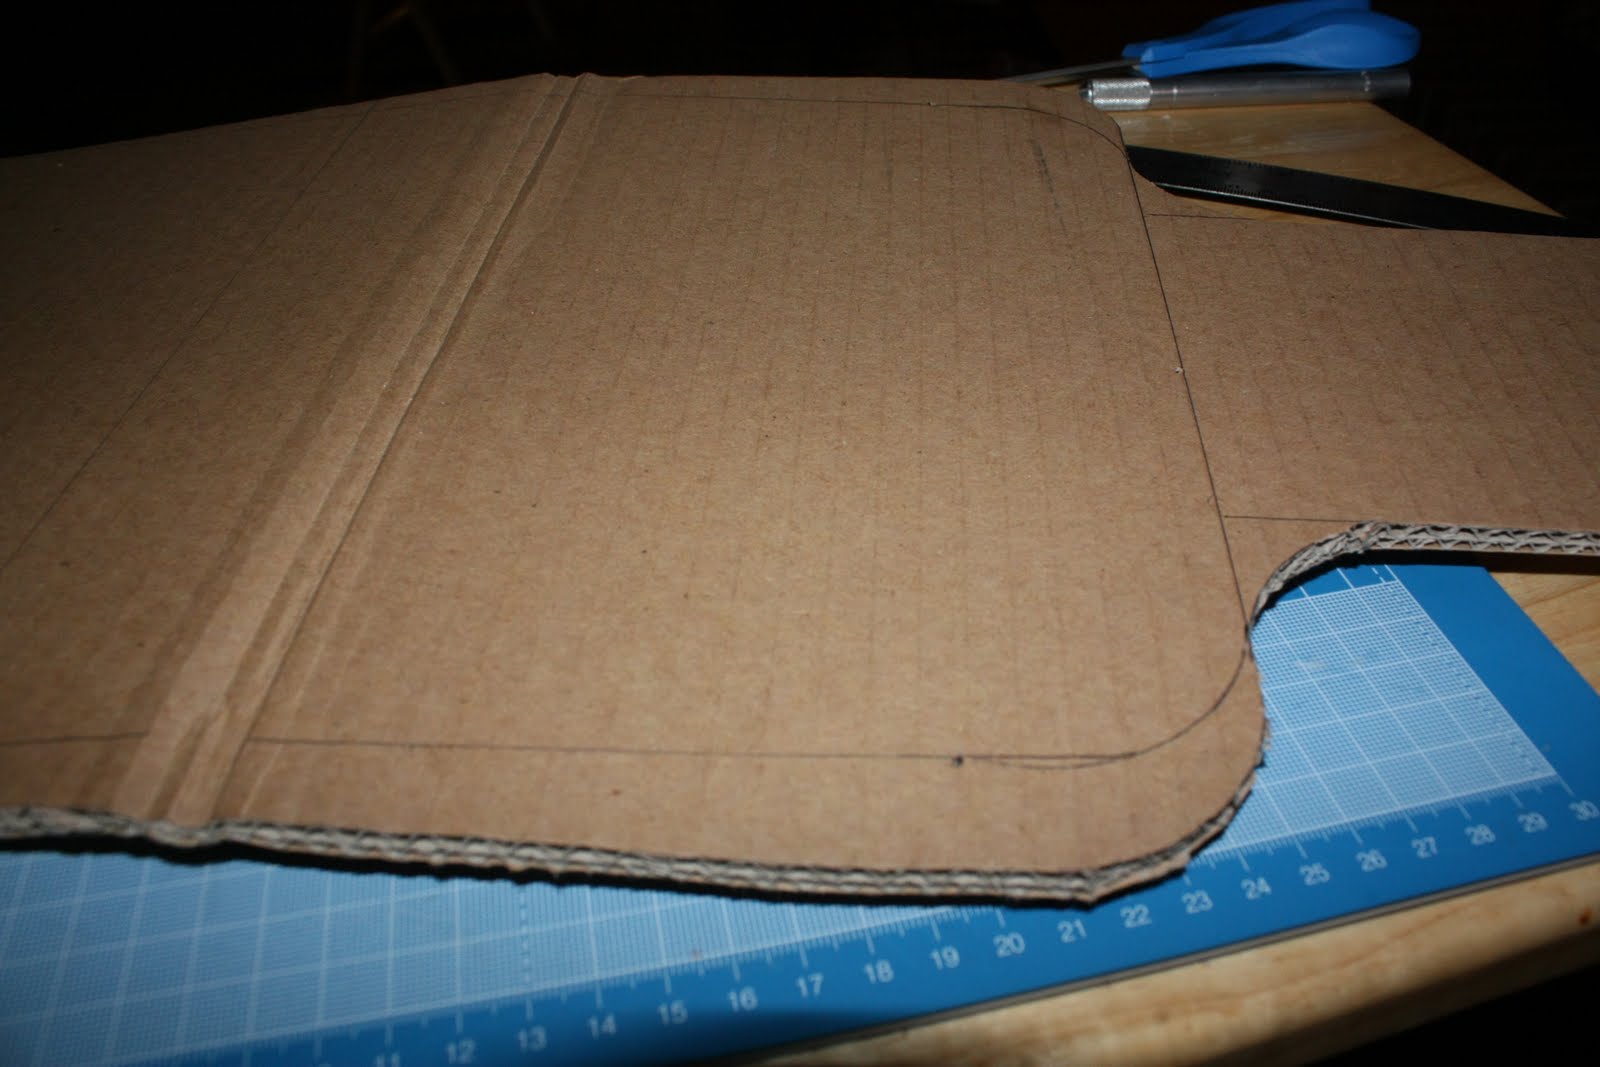
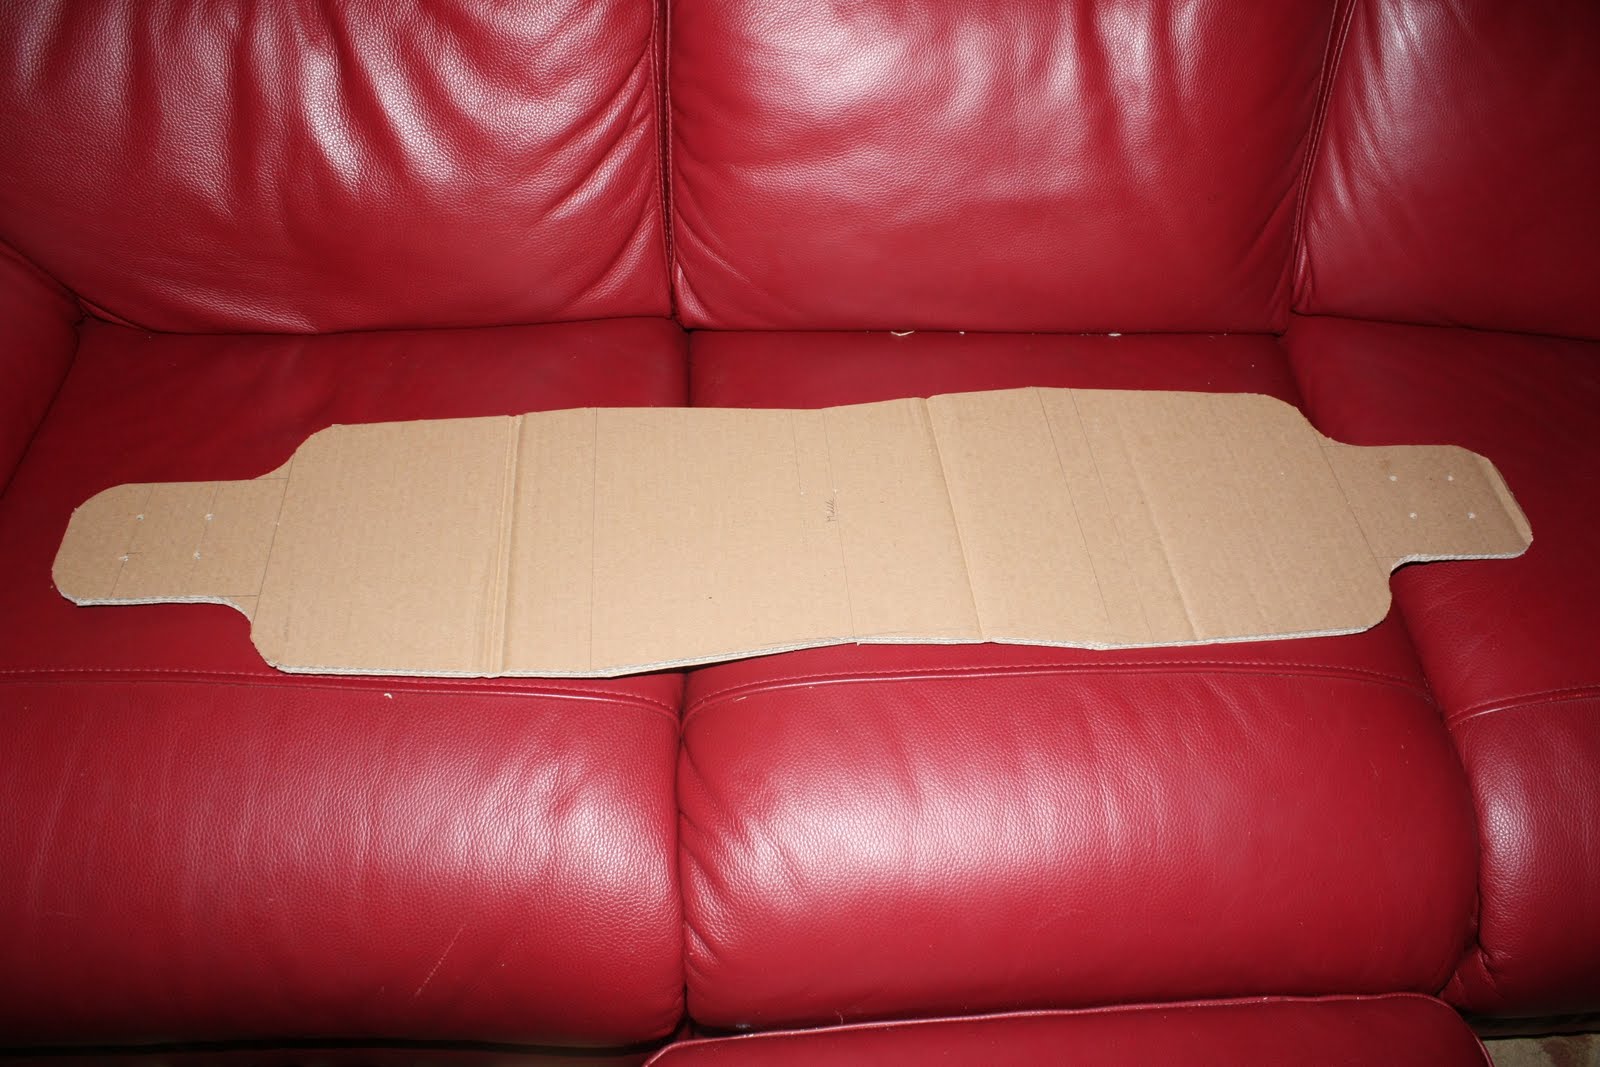
                                                      Finally, cutting it out with a jigsaw

After this there was a long sanding and fixing practice, but no photos, hopefully there will be some next time

Sunday, April 10, 2011

Day 3

Got some good progress done today. Took the boards, cut them in half length-wise, glued them togethor and have them bending for about 30 hours for a nice (hopefully) curve.

                                               Sawing the sheets in half (one at a time)
                                                          Getting the clamps ready
                                                            Putting on the glue
                    Hard to see, but there is glue on both sides and you need to make sure to spread it
                                                     Putting on the clamps and ties etc.
                                  With the weight on bending to a nice curve (bottom is facing up)

Saturday, April 9, 2011

Day 2

Well day 2 was a little on the unproductive side. Got the wood though and drew on the template. I have decided to use 1/4" sanded pine.
                                                             One of the two 2'x4' sheets
                                                      The template on the 'prettiest' sheet
                                              Checking the corners with 'precision' equipment
                                                      The penciled-in template on the sheet
                                                         The two sheets put together


I am currently debating whether I should use make it 3 or four sheets thick, i want it to be firm, but not too firm, and since i am adding 2 layers of fiberglass on later I may just use 3 sheets

Day 1

                                      Heres the 44"x11" cardboard sheet with the basic design on it
                                                        Finalized head/tail design
                                                 Finished head, adding a taper to the sides now
                                                             Theres a closeup of the taper
                                                       A quick sketch of the graphics
                                                             Final shape of the deck
                                                  

So far, day 1 has gone well. I made the cardboard template and settled on some graphic designs for the bottom.